


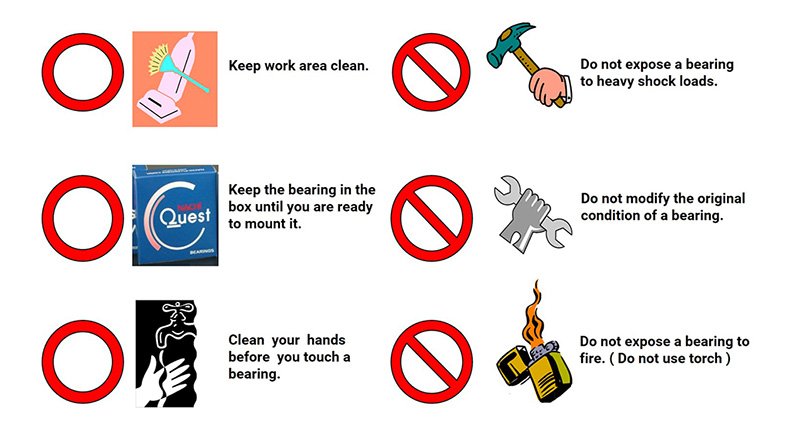
In order to achieve optimum performance from bearings, and prevent premature bearing failure, correct handling procedures and mounting methods using the proper tools is imperative. Bearings must be mounted correctly. Incorrect mounting will not only affect the bearing precision and life, but also affect the performance of the equipment where it is installed. The recommended procedure for the bearing installation is as follows:
- Preparing for mounting
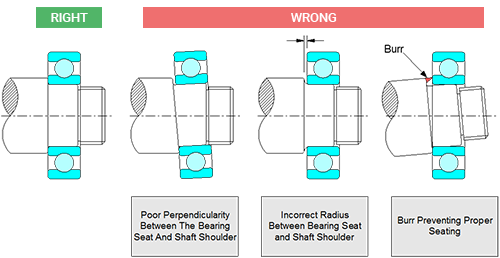
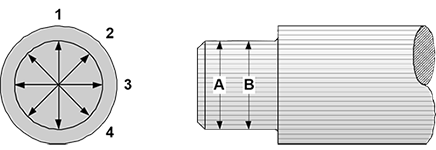
- Inspecting the shaft & housing
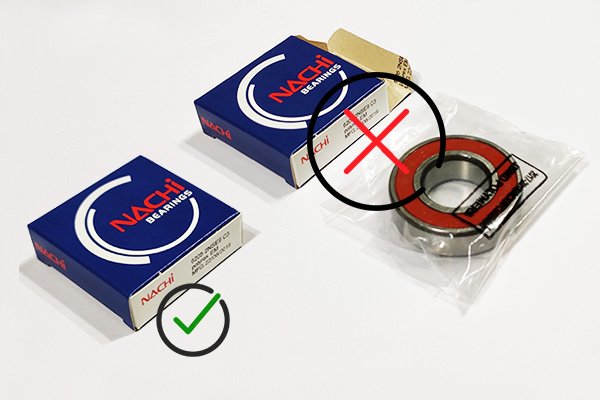
- Unpacking (washing the bearing, when needed)
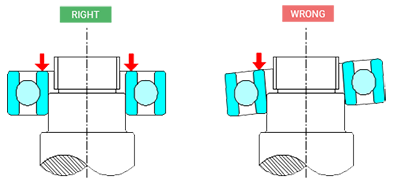
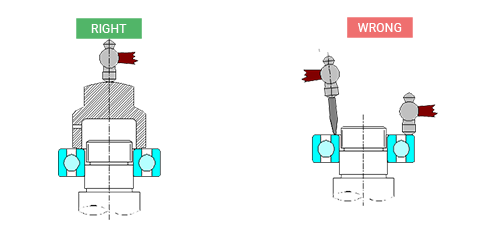
- Mounting the bearing
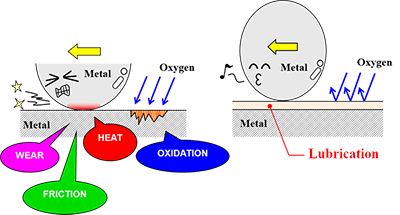
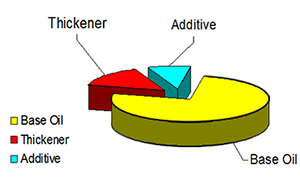
- Lubrication
- Test running of the equipment


Follow